Technology
How Setting Up a Home Server Could Ease Your Life.
By Thisaru Mahadurage
May 7, 2020
Having a home server brings you possibilities that might not have crossed your mind. Most of the capabilities popped into my mind only right after setting it up. In this article I’m going to explain how it could ease your life in a whole new way, (Only if you’re a tech-savvy).
Recently I used one of my old laptops and installed Ubuntu Server on it to use it as a home server. At that moment, all I wanted was to set up a download server so it turns on at midnight to use my night data (off-peak data). But with each service I implemented on it, my imagination ran wild until I ended up with what I have right now. Let me list down the services my home server provides me with.
- It acts as a night time downloader (Transmission Torrent Client). It turns on at sharp midnight and turns off after it finishes the downloads.
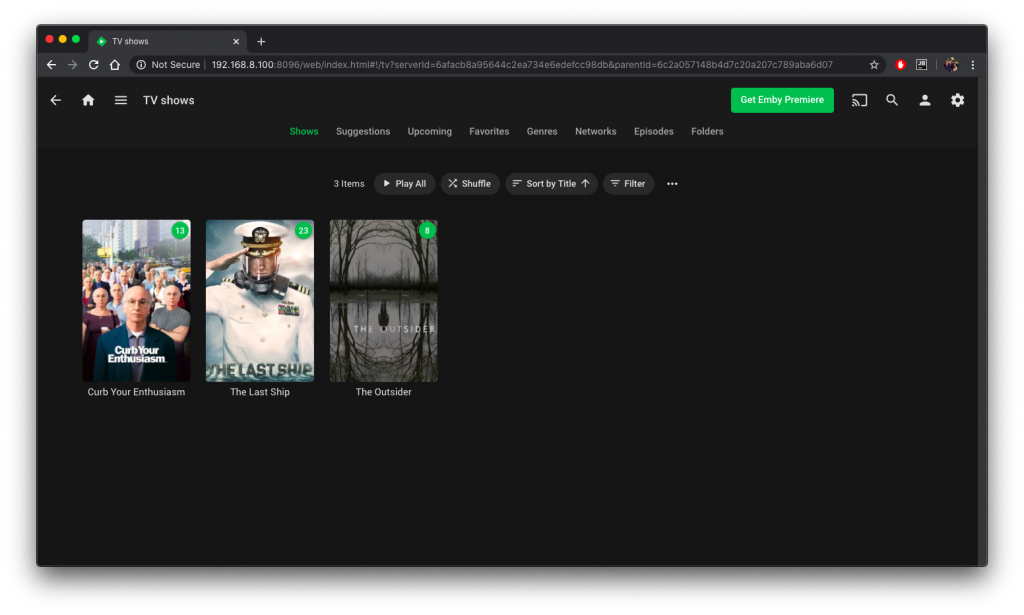
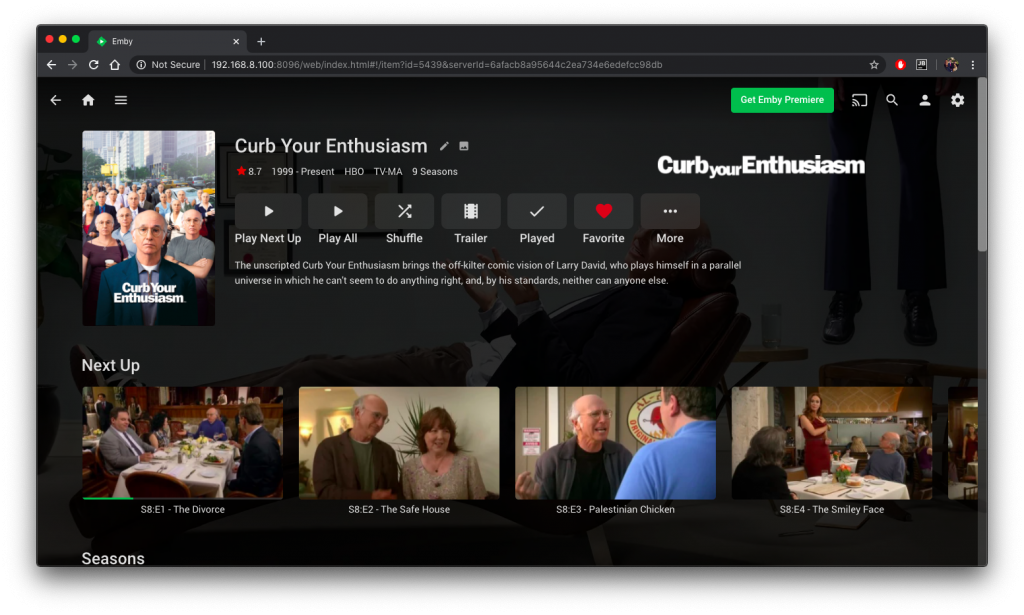
- It provides a service to stream (like Netflix) all my local movies, TV shows, home videos/photos on any device in my local network. (Emby Server)
- It backs up my iPhone / iPad photos and videos wirelessly with a click of a button so I can free up storage on the device for what’s to come. (PhotoBackup App with rsync)
Make your own server
Here I’ll be giving instructions on what to do to accomplish what I’ve done with my server. My instructions are on the surface and you might need some Googling to get in-depth instructions on how to achieve some of the steps I’ve mentioned here.
Things you need
- An old laptop with at least 4GB of memory
- Secondary laptop to access the server using SSH
- Router with internet connectivity
- An ethernet cable
- Prior knowledge with Ubuntu/Linux CLI
Step 1
Your laptop needs to be fully erased so back up anything essential on it’s Hard Drive. After you’ve done with the back-up, Download Ubuntu Server LTS from Ubuntu Downloads.
Now install it on your laptop using a bootable drive.
Go through the documentation to see how you can install it on your laptop. Ubuntu Server does not have a graphical interface so you’ll need some knowledge on Linux commands while setting up these.
Step 2
Connect the laptop to the router to access the internet using the ethernet cable. Do the necessary system updates. Use the secondary laptop to access the server using SSH. (Refer instructions on how to use SSH to access the server)
Set up a static local IP so you can access the server with ease. Skipping this would lead out to check the server for IP every time you need to access its services.
Step 3
Set up the laptop so it turns off the display when the lid is closed. This will help save power. I’ve noticed that my server only consumes about 3 to 8 Watts when idle. Use powerstat to find out the Wattage.
Step 4 – Transmission
Now you’re ready to set up Transmission. Install Transmission client for Ubuntu Server and you’ll be able to access the web UI through http://<LOCAL-IP>:9091/transmission/web/ you can use any device on the local network to access the client.
Then you need to use your Linux knowledge to write a script to turn off the server once the downloads are finished.
Use the following command to access Transmission settings, there you can set up the post-download behavior.
sudo nano /etc/transmission-daemon/settings.json
Finally, you can use rtcwake to wake your server at 12:00 AM to start downloads.
Your downloads can be viewed by the Emby server as soon as it finishes downloading.
Step 5 – Emby Server
You can download the Emby Server compatible with Ubuntu Server using the apt command. After installation, the server will be listening on the port 8096.
Go to http://<LOCAL-IP>:8096/ and then to Settings to set up Libraries for your content. You might need to set up folder permissions for emby to work properly. With everything set up you’ll be able to enjoy your media anywhere on any device. It’s available on most devices even on your TV.
Step 6 – Device Backup
You can easily backup your iPhone photos and videos to your home server using PhotoBackup. First create a folder for the photos in the server and then install the app on your iPhone. After opening the app you can provide the details of your server and photos folder (Make sure it’s connected to the same network) and with a click of a button your photos and videos will all be backed up to the server Photos folder.
Emby will let you stream these photos and videos instantly.
Wrapping up
So now you’ve created a server that downloads content without human interactions and instantly streams the same content to all devices in your home network and also possesses the ability to back up your phone’s latest photos and videos and stream them instantly via the media server too.
At the end of the day all these services are connected to serve you your favorite content anywhere in your house.

Thisaru Mahadurage
CEO and Director of Purple Software Private Limited